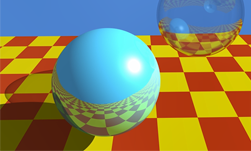
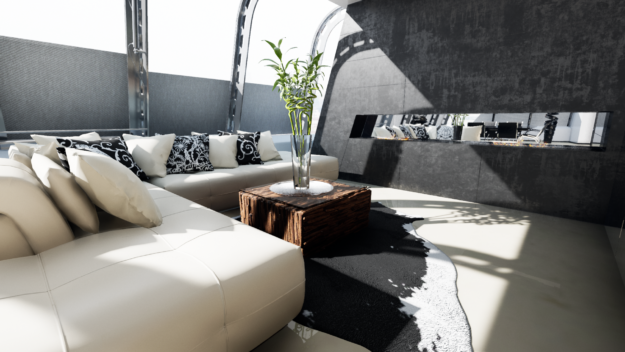
 Ray tracing will soon revolutionize the way video games look. Ray tracing simulates how rays of light hit and bounce off of objects, enabling developers to create stunning imagery that lives up to the word “photorealistic”.
Ignacio Llamas and Edward Liu from NVIDIA’s real-time rendering software team will introduce you to real-time ray tracing in this series of seven short videos. These videos build on one another and comprise an excellent introductory tutorial on the topic. They also explain how to integrate ray tracing into your game engine.
These presentations took place at the 2018 Game Developers Conference (GDC) and can be found in the NVIDIA developer site. This treasure trove of videos from GDC contain an amazing store of technical information for game developers, but it can be hard to find an hour in your busy work schedule to fit in the time to view a long presentation. We want to help you with that by re-building our best long-form talks into a series of coffee-break friendly clips.
If you can put aside just ten minutes a day for one week, you’ll know more about ray tracing than most of your peers!
Alternatively, you can skip straight to the bits that that offer insights particular to your interests.
Part 1: Introduction to Real-Time Ray Tracing (5:41 min)
What is ray tracing? Ignacio gives a helpful overview of what the technology does in this video. Why is ray tracing important? What technical issues need to be considered with real-time ray tracing?
The Five Most Important Takeaways from Part 1:
- Ray tracing defined: a primitive to query the intersections of rays against some geometry.
- Shadows, reflections, and ambient occlusion can be rendered in-game at a dramatically higher level of quality using ray tracing.
- Ray tracing also can be used in non-rendering applications, including audio simulation in VR, physics/collision detection, and AI.
- Rendering with ray tracing usually requires many samples for high quality results; from a few hundred to a few thousand…
- However, high quality results are possible with just a few samples per pixel + denoising
Part 2: Ray Tracing and Denoising (9:52 min)
Natively ray traced images typically contain large amounts of noise given the compute budget for real-time applications. Edward explains the challenges of developing a real-time denoising solution, and describes the results NVIDIA has achieved using RTX.
The Five Most Important Takeaways from Part 2:
- The realistic budget is 1-2 samples per pixel (which is insufficient to get anything reliable) with real-time rendering. Denoising can make up the difference, and allow for high-quality real-time ray tracing results, even at this limited budget.
- Real-time ray tracing/denoising solutions must be able to support dynamic scenes: dynamic camera, moving light sources, moving objects.
- The aim is to reach a denoising budget of ~1 ms or less for 1080p target resolution on gaming class GPUs.
- The denoisers we developed are all effect specific and try to use different information in the scene context (such as surface roughness, light hit distance, etc.) to guide the filter.
- All of the denoisers work on 1-2 sample per pixel input even without temporal reprojection. We don’t have to suffer from the ghosting or other typical issues introduced by temporal filtering.
Part 3: Ray Traced Light Area Shadows and Denoising (7:12 min)
Why would you use ray tracing for shadows, instead of shadow mapping? What are the different kinds of denoisers used for ray tracing? Edward gives you the answers.
The Five Most Important Takeaways from Part 3:
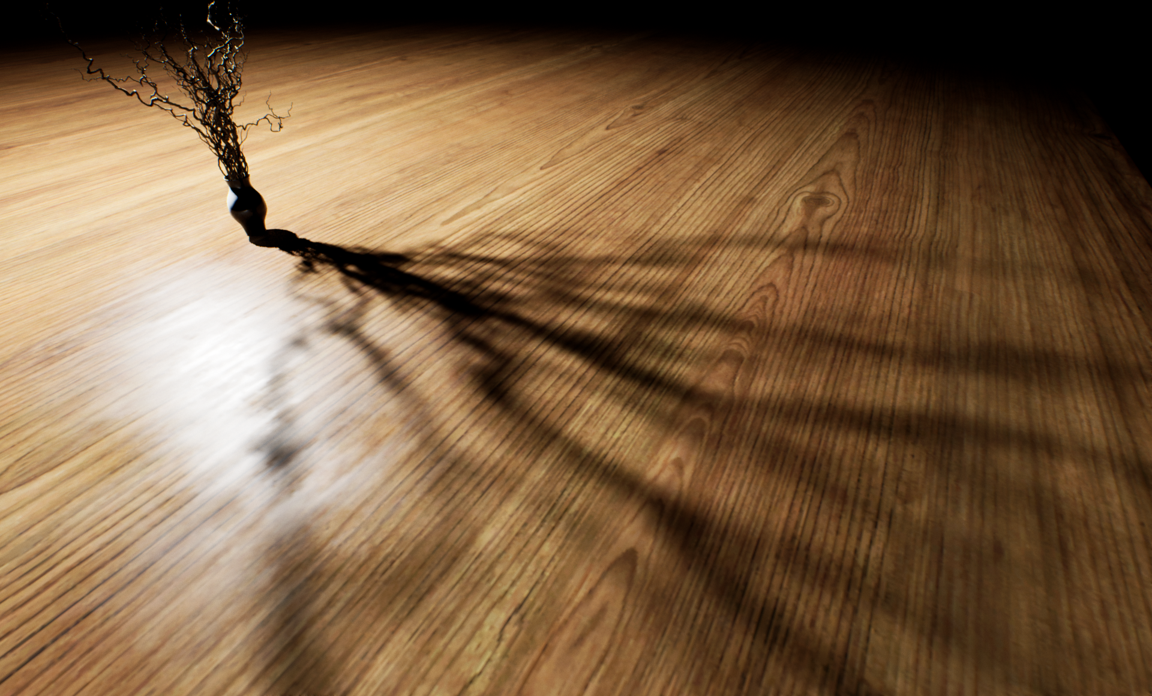
- Why do we bother to use ray tracing to render shadows? Because ray tracing gives you better visual quality for large area light soft shadows.
- You can produce physically correct, accurate penumbras with ray tracing, even with a really large area light source. This is not possible with shadow map-based techniques.
- Ray tracing also allows for more accurate geometry than character capsule shadows.
- Different denoisers are used for point lights, spot lights, directional lights, and rectangular lights. All pull from the G-Buffer and use hit distance, scene depth, normal, light size and direction to guide the filtering.
Part 4: Ray Traced Ambient Occlusion (4:17 min)
SSAO (Screen Space Ambient Occlusion) is a popular but limited process being used in contemporary games. Ray tracing provides better results. Edward explains why, and proves it with a set of side-by-side examples.
The Five Most Important Takeaways from Part 4:
- SSAO is a less-than-ideal process: it darkens the corners and edges in a scene, and leaves a dark halo around object borders.
- SSAO also can’t handle occlusion from offscreen geometry (or in-screen geometry, but occluded).
- Actually tracing rays around the geometry in the scene will be more physically correct than SSAO and gives you higher visual quality.
- Direct comparison between 2spp (samples per-pixel) Denoised and Ground Truth are strikingly close. SSAO is clearly less convincing.
- 1spp works pretty well for far-field occlusion, but for near field contact, we need to get to at least 2spp.
Part 5: Ray Traced Reflections and Denoising (9:52 min)
Reproducing accurate reflections has always been a big challenge in game development. Traditionally, artists and engineers have needed to apply a complex set of connected solutions – and even then, the results can be jarring. Edward explains how ray tracing and denoising solves this.
The Five Most Important Takeaways from Part 5:
- Prior solutions such as SSR (Screen Space Reflection) suffers from the ‘missing geometry/data’ problem: when you move the camera down, things just disappear in reflections. Pre-integrated light probes are not dynamic and can be VERY wrong if placed incorrectly. Planar reflections only work for planar surfaces; this rasterization approach will not allow for glossy surfaces.
- By contrast, ray tracing with denoising does not lose geometric details, is dynamic, and works on a wide range of surfaces, including glossy ones.
- Shadows denoiser results can be of lower quality for overlapping penumbra from two occluders with very different distances from the receiver.
- Reflections denoiser is further from ground truth as roughness increases.
- AO denoiser may need 2 or more rays to capture finer details.
Part 6: Reference In-Engine Path Tracer (6:22 min)
Edward explains why it’s important to have a path tracer in your rendering engine, and details how the Optix 5.0 AI Denoiser can improve the quality of a rendered image.
The Five Most Important Takeaways from Part 6:
- Having a path tracer in your rendering engine is valuable because it allows you to quickly generate a reference image for tuning real-time rendering techniques.
- In-engine path tracing is easier than it ever has been using DXR and RTX. Developers can just focus on the light transport and algorithm side of things.
- RTX provides optimized implementations of Acceleration Structure build/update, as well as traversal and scheduling of ray tracing and shading.
- The NVIDIA Optix 5.0 AI Denoiser improves the quality of the rendered image from 0.8 ssim to .99 ssim (with respect to target reference image).
- The NVIDIA Optix 5.0 AI Denoiser also blends smoothly between a noisy image and a denoised image starting at some set number of iterations (depending on a scene).
Part 7: Game Engine Integration (6:59 min)
Ignacio provides a set of valuable tips for game engine integration and wraps up with a range of best practice suggestions to help you get great performance out of your rendering engine right away.
The Five Most Important Takeaways from Part 7:
- Right now, we’re using the Naive approach to update shader parameters, which updates shader parameters every frame for every object. But moving forward, we believe the optimal approach updates only what changes in every frame.
- Allow artists to create simplified materials for reflection shading.
- Build a single bottom level acceleration structure for an object with multiple sub-objects with different materials overlapping spatially.
- Use RAY_FLAG_ACCEPT_FIRST_HIT_AND_END_SEARCH for shadow and AO rays even if you need the hit distance for denoising purposes.
- Regarding tessellation: start by disabling it if possible, otherwise limit the update rate, stream out tessellated geometry to buffers and provide as input to AS builder.
We hope you’ve gotten value from the first installment of NVIDIA’s Coffee Break series!
To learn more about NVIDIA RTX, NVIDIA Optix, GameWorks for Ray Tracing, and Microsoft DirectX® Raytracing (DXR), go here. You can also view the unedited video here.

